
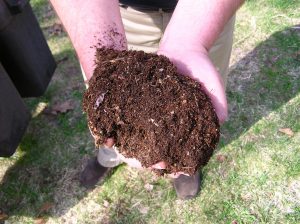
 If you’re a fan of organic soil, then you might want to consider making your own, while preventing your vegetable peels and other bits from ending up in a landfill at the same time. A compost pile can help you create less waste and great soil at the same time. To start one, you’ll need some basic components, and will need to make a few decisions.
Step one – Choose a location.
You’ll need to place your compost pile someplace convenient, yet not too close to your house. Even a properly designed pile with all of the right “ingredients” may smell a little, so you don’t want it within smelling distance of your kitchen or your neighbors house. For smaller compost piles, placing it up against the side or back of your garage works nicely. However, if you have a large yard, feel free to create a bigger compost pile in an unused corner.
Step two – With or without a pre-made bin?
You have several choices when it comes to composting. You can either buy a premade bin, make one yourself by modifying a trash can or similar container, or go without a bin altogether. With this last option, you’ll need to at least put up some wooden walls or some sort of barrier to indicate where the compost ends and regular soil begins.
Compost bins do have some advantages – if they are placed in the sun, their plastic sides will collect heat and thus speed up the decomposition that occurs in them. This means that you’ll end up with fresh, newly composted soil faster than usual, especially if you only place small, one-inch pieces in your compost pile.
Step Three – Preparatory Materials
You’ll need a number of material to help your compost get started. Yes, you need to gather vegetable waste, but before you begin gathering apple peels and other things from your kitchen, you need to have your “browns” ready. The composting process requires a careful balance of “brown” materials, like old leaves, sawdust, and pine needles and “green” materials, the things culled from your kitchen, such as coffee grounds, vegetable stems, and similar things that would normally end up in your trash can. However, you can’t add fresh “browns” to your pile; they need to be carefully chopped up and aged, especially if they are leaves. A jug of water should be kept handy, as water and a little soil from your garden are also an important part of the mix.
Step Four – Tools
On top of the compost bin (if you choose one), you’ll need one important tool – a rake, shovel, or trowel, depending on the size of the bin – to care for your compost. Although placing your bin in a warm, sunny spot will help your compost decompose faster, turning your pile on a weekly basis will help as well. Turning it helps aerate the compost, which speeds up the process, since the decomposition process needs plenty of air. You’ll also need a pair of shears handy to slice up the leaves, or “browns” that will go into your pile.
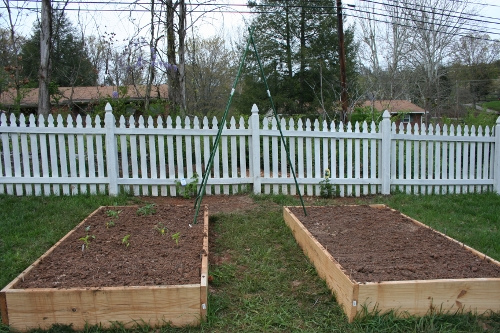
Once you have gathered and assembled everything that you need for your compost pile, you are ready to begin creating your own healthy soil!
Pic by normack


[…] are lots of tips and tricks to starting a compost pile and anyone can make nutrient-dense for their plants. This will transfer […]